Simple bullet lists are easy to create. The standard black round bullets work well, but your document really comes to life when you create some custom bullets using different symbols and colour.
Likewise, single-level numbering is easy to set up.
Then there is multi-level numbering and that’s a whole different animal. It's too big to cover here so I have created a separate post that shows you how to set up multilevel numbering properly.
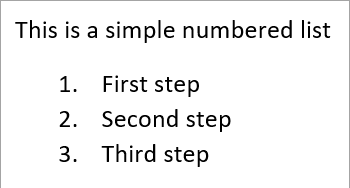
1. What is a numbered list?
Numbered lists are used to show the steps of a process or sequence. The order is important.
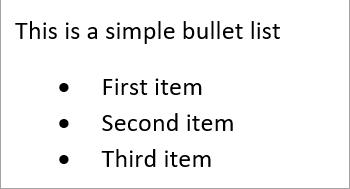
2. What is a bullet list (a.k.a. dot points)?
Bullet lists are used to show two or more points or items. The order is not important.
3. When to use numbered lists vs bullet lists
Think of a recipe.
First, you need a list of ingredients. The order in which you list the ingredients is irrelevant so bullet points, also called dot points are perfect.
However, when you are following the recipe, the order is important, so you would use a numbered list to show each step of the recipe.
4. One-click bullets
# Create a new bullet list
1. Select the items to which you want to add bullets.
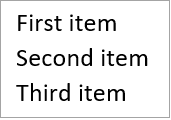
2. Select the HOME tab.
3. Click the bullet icon in the Paragraph group.
Standard black round bullet symbols are added to each item.

# Delete a bullet item
If you delete a line (a bullet item), the rest of the list closes to fill the gap.

# Add a bullet item
If you place your cursor at the end of a bullet item and press ENTER, a new bullet item is added on the next line.

# End a bullet list
If you place your cursor at the end of the last bullet item and press ENTER twice, the bullet list is ended.
5. One-click numbers
To create a numbered list:
1. Select the items that you want to number.
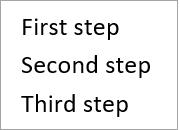
2. Select the HOME tab.
3. Click the Numbering icon in the Paragraph group.
The items are now numbered sequentially.

# Delete a bullet item
If you delete a line (a numbered item), the numbering for the remaining list adapts so the numbering is always sequential.

# Add a bullet item
If you place your cursor at the end of a numbered item, then press Enter, a new blank numbered item is added to the next line (with the correct number), ready to be populated. The numbers in the rest of the list adapt so the numbers remain sequential

# End a bullet list
If you place your cursor at the end of the last numbered item and press ENTER twice, the numbered list is ended.

6. Custom symbol bullets
# Choose a different bullet symbol
1. Select your list of items
2. Select the HOME tab.
3. Click the drop-down arrow next to the bullet icon in the Paragraph group.
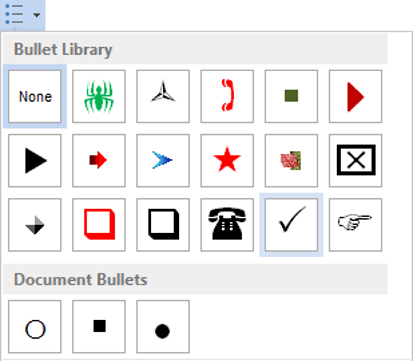
A gallery of default or previously-used bullet styles is displayed.
4. Click on any bullet style to use it.
# Define a new symbol bullet
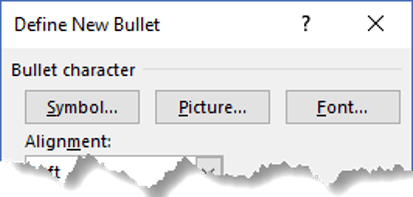
1. Click Define New Bullet.
2. Click the Symbol button to display the symbol gallery.
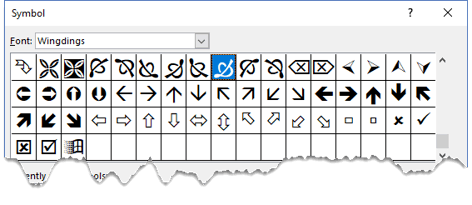
3. Choose a font from the drop-down list at the top.
Good symbol fonts are Wingdings, Wingdings2, Wingdings3 and Webdings
4. Select a symbol from the gallery.
5. Click OK
# Define a new picture bullet
1. Select your list of items
2. Select the Home tab.
3. Click the drop-down arrow next to the bullet icon in the Paragraph group.
4. Click Define New Bullet.
5. Click the Picture button to display the symbol gallery
You can use a picture from three different places
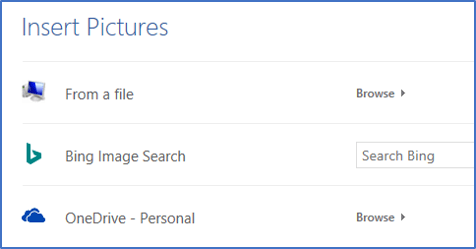
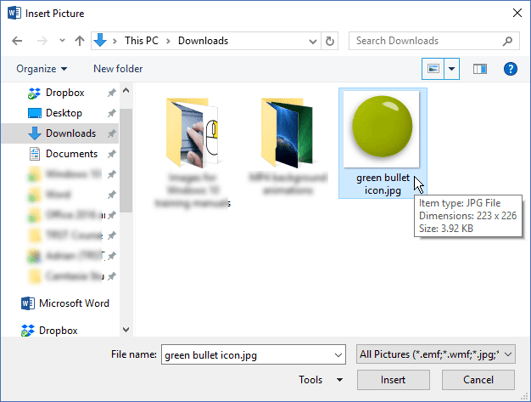
To select a picture that is already stored on your computer
1. Click FROM A FILE.
2. Locate the picture and select it.
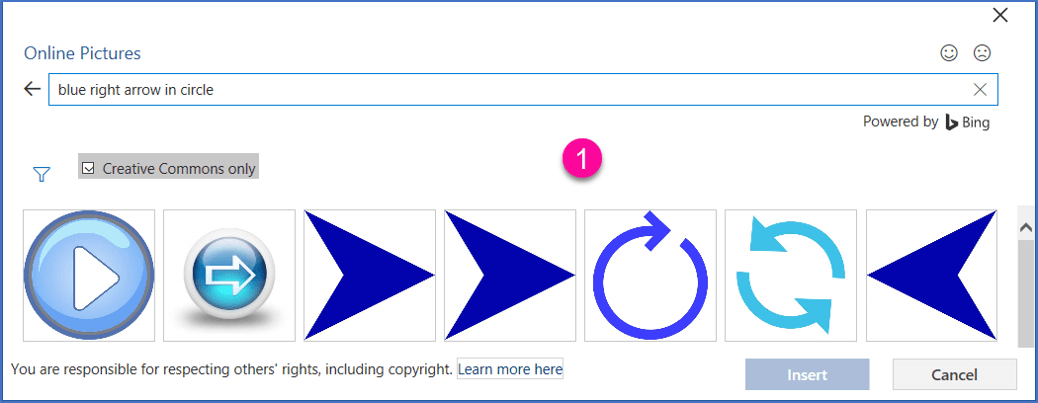
To search for an image online:
1. Click BING IMAGE SEARCH.
2. Type a keyword or phrase that describes the kind of bullet picture you want.
3. Select one from the gallery.
4. Click Insert
You are responsible for respecting creators rights including copyright.
To use an image store on your OneDrive (cloud):
1. Click ONEDRIVE.
2. Sign in if necessary.
3. Locate and select the image file.
7. Adding symbols anywhere in your document
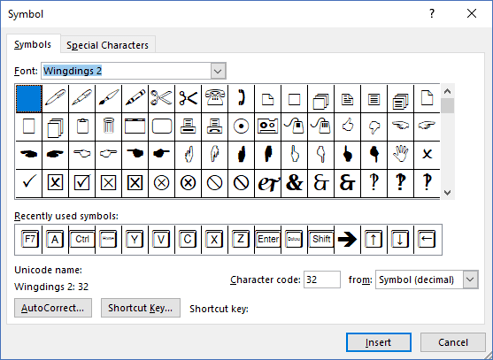
You may insert all kinds of symbols into your document such as copyright symbols, tick/check marks, crosses or phone/mobile/cell.
To insert a symbol anywhere in your document:
1. Select the INSERT tab.
2. Click Symbol (on the right-hand side)
3. Choose MORE SYMBOLS to display the symbol gallery.
4. Even standard fonts like Arial and Calibri contain many more characters that you can find on the keyboard. For example, ©, », and ¼.
5. There are lots of fonts and symbols to explore, but if you start experimenting with different fonts from the drop-down list, you'll discover another whole world.
6. Select a symbol from the gallery.
7. Click Insert
8. Summary
I hope you found plenty of value in this post. I'd love to hear your biggest takeaway in the comments below together with any questions you may have.
Have a fantastic day.


About the author
Jason Morrell
Jason Morrell is a professional trainer, consultant and course creator who lives on the glorious Gold Coast in Queensland, Australia.
He helps people of all levels unleash and leverage the power contained within Microsoft Office by delivering training, troubleshooting services and taking on client projects. He loves to simplify tricky concepts and provide helpful, proven, actionable advice that can be implemented for quick results.
Purely for amusement he sometimes talks about himself in the third person.
SHARE


