As your document grows it becomes harder to manage and it makes sense to break it into smaller chunks.
Think about how a regular book is divided into chapters or sections. In Word, you can create a master document which acts as a container for all its sub-documents.
This has several advantages:
This post explains the process.
1. Accessing the master and subdocument tools
The best approach to utilising master and sub documents is to create all your subdocuments first, at least in draft form. Once in place, create a master document that brings all the subdocuments together.
To make use of master & sub documents, you must be in Outline view.
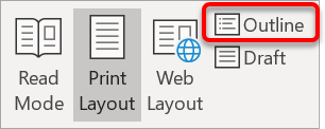
To switch to Outline View:
1. Select the View tab.
2. Click the Outline icon in the Views group.
The Outlining ribbon will be displayed. You can only see this ribbon when you are in Outline view
3. Click the Show Document icon in the Master Document group.
■ This expands the Master Document group and displays the tools you need.
■ Apart from Create and Insert, all other options are initially greyed out.

2. Inserting or creating a subdocument
To insert an existing document as a sub-document:
1. On the Outlining ribbon click Show Documents, if necessary.
2. Position the cursor.
3. Click the Insert icon in the Master Document group.
4. Locate and select the sub-document. Click the Open button.
To create a new subdocument:
1. On the Outlining ribbon click Show Documents, if necessary.
2. Select the content that will become the new subdocument. The content must include at least one heading style.
3. Click the Create icon in the Master Document group.
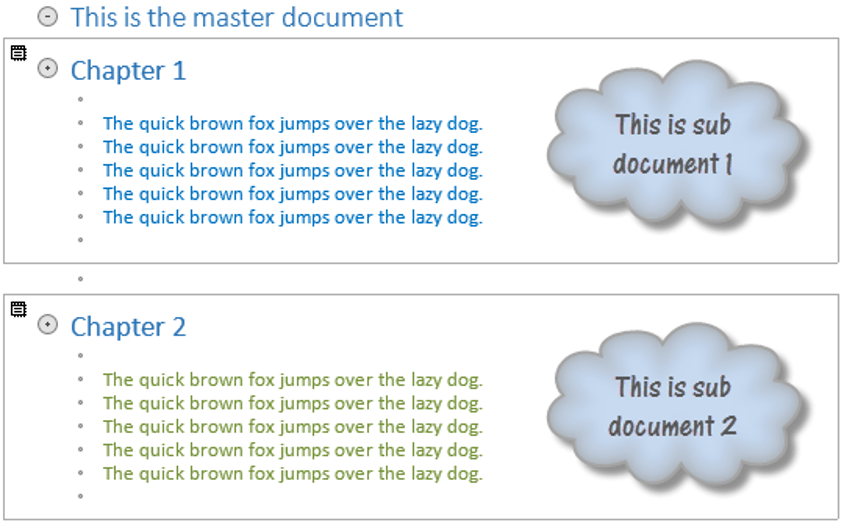
A sub-document is inserted into the main document.
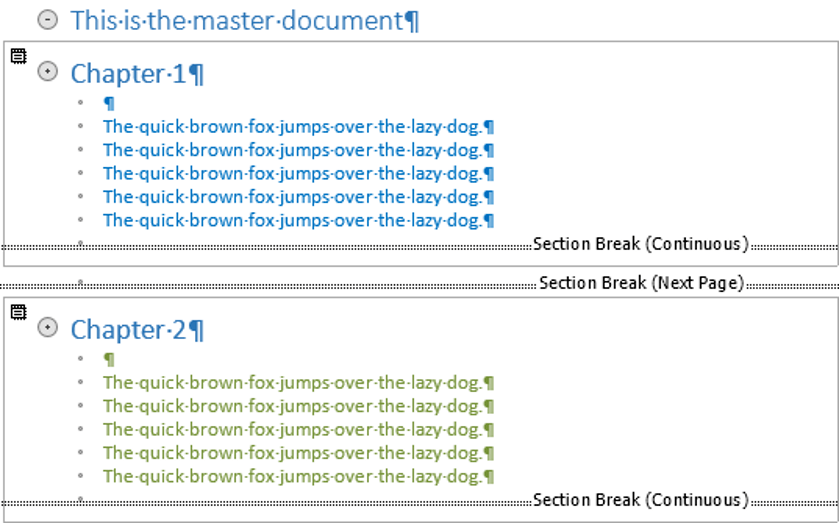
3. Editing a subdocument
There are several ways to edit a subdocument:
When the sub-document is open, a padlock symbol is displayed on the master document, in the top-left corner of the subdocument box. This prevents changes being made to the subdocument from two places at once. The padlock also appears if the sub-document is read-only or has password protection.
You may edit the sub-document directly within the master document. Any changes are automatically saved to the sub-document.
If you make changes to the sub-document in a separate window, the changes are reflected on the master document when the sub-document is saved.
4. Expanding or collapsing subdocuments
When a subdocument is expanded, the text is displayed in full.
When a subdocument is collapsed, only the pathname to the file is displayed.
Click the Expand Subdocuments or Collapse Subdocuments to toggle between the two states.
5. Expanding or collapsing document sections
The document structure is clearly laid out.
Next to each heading (that uses Heading 1, Heading 2, Heading 3 etc.), there is a + symbol.

6. Showing just the main headings
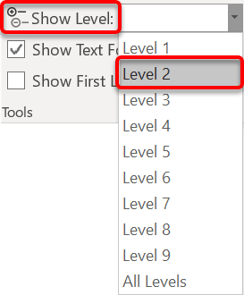
To collapse all the detail in a large document in one hit, you can use the Show Level tool in the Outline Tools group.
7. Merging or splitting documents
To merge two or more subdocuments into a single subdocument:
1. Select all the text in the subdocuments you wish to merge.
2. Click the icon in the Master Document group.
To split a subdocument into two separate subdocuments.
1. Select the text that you wish to split off into a separate subdocument.
2. Click the icon in the Master Document group.
8. Unlinking or locking subdocuments
Click Unlink to retain the subdocument text in the master document but disconnect the link.
Click Lock Document to lock the subdocument link and prevent changes made in the master document from flowing back into the subdocument. Click again to resetablish the flow.
9. Caution! Things you should know about subdocuments
10. Key Takeaways
I hope you found plenty of value in this post. I'd love to hear your biggest takeaway in the comments below together with any questions you may have.
Have a fantastic day.


About the author
Jason Morrell
Jason Morrell is a professional trainer, consultant and course creator who lives on the glorious Gold Coast in Queensland, Australia.
He helps people of all levels unleash and leverage the power contained within Microsoft Office by delivering training, troubleshooting services and taking on client projects. He loves to simplify tricky concepts and provide helpful, proven, actionable advice that can be implemented for quick results.
Purely for amusement he sometimes talks about himself in the third person.
SHARE


I am working on splitting a subdocument out of a master document that was created by someone else and having an issue. The subdocument is apx. 40 pages, but only 3 pages come over to a new separate document. I have checked for reasons of the “create” box only going around the 1st 3 pages and can’t seem to find an answer to why it is not pulling the entire section. I do see section breaks continuous at the end of previous Chapter. There are some section break next page within the 40 pages too. The 97 master document contains 10 documents and each document starts with Heading 9 text (no numbering, just text), then goes to next paragraph being level 1 to start numbering in the document. This is day 2 of trying to figure out the issue. Any suggestions?
Hi Michelle. This is a tricky one to answer without seeing the documents firsthand but here are a couple of suggestions.
Because you are in Outline view, check that content in the subdocuments is expanded, not collapsed. Every heading level can be collapsed and you may have missed one/some.
As an alternative approach, you can use { INCLUDETEXT “yoursubdocumentname.docx” }. You need to press Ctrl F9 (or Ctrl Fn F9 on some keyboards) to get the braces then type the rest inside the braces. Alternatively, go to the Insert tab | Quick Parts | Field | INCLUDETEXT.
– Ideally, your sub-document will be in the same folder. If not, you need to also include the drive letter and all the folders leading to your document (e.g. G://folder/folder/folder/yoursubdocumentname.docx).
– Right-click the INCLUDETEXT field any time to toggle between the field name and the subdocument content or to update/refresh the content.
There is a separate post for INCLUDETEXT here – https://officemastery.com/master-document-includetext/